

PrivateInternetAccess SOCKS Proxy Tutorial – Software Installation
In this article we are going to run through the Debian, OpenVPN and Squid proxy software installation. In this tutorial we are installing it on a virtual machine in an ESXi environment but it can obviously be installed on any PC, virtual or otherwise. We are using a dual-core CPU with 2GB of RAM which is more than enough for a light-user proxy.
Let’s get started!
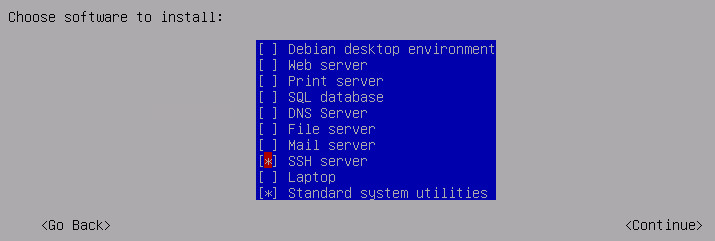
1. Download the netinstall iso, burn it to CD/DVD if necessary and boot. Run through the install and make sure to specify your static IP. You only need a minimal installation, no desktop manager so select the options as shown:
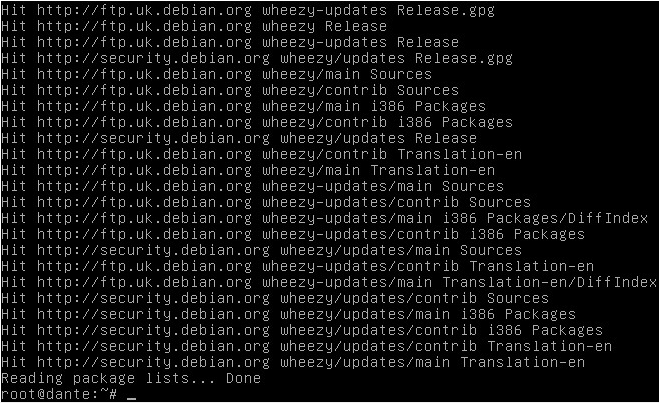
2. Once installed and logged in, update the apt repositories with apt-get update:
3. Install the OpenVPN software:
- apt-get install openvpn
4. Install the dante software software:
- apt-get install dante-server
Now we’re all installed, it’s time for the configuration.
Hello,
Where is the configuration part please.
Thanks for the tutorials, I need the configurations part.