Skybox – Files Needed for Policy Analysis

With Skybox it is possible to analyse the Check Point security policy – the files you need to export from the manager for this are:

The following files are required to import a Check Point FireWall-1 configuration:

  • objects_5_0.C: The network objects file contains objects (including assets, networks, and services) referenced in the access rules.
  • rulebases_5_0.fws: The rulebase file contains the access rules.
  • (Optional) install_statuses.C: The installed statuses file includes the name of the policy (the active policy) that is currently installed in the firewall.
  • (Optional) vsx_objects.C: The VSX device objects file contains objects (including assets, networks, and services) referenced in the access rules of VSX (virtual systems) firewalls.

Note: If the Check Point configuration contains several policies, install_statuses.C is mandatory (it contains the information of which policy is installed on which firewall).

These files are located at:

  • (Windows) C:\WINDOWS\FW1\<version#>\conf
  • (Linux) /<FireWall-1_installation_path>/CPfw1-<version#>/conf

You also need the name of the active policy on each firewall module and the ifconfig and netstat –rnv output from each firewall module.
Gaia: Invalid command:’scp -t’ Error

Invalid command:’scp -t /path/to/dir/’

This article explains the cause of the “Invalid command:’scp -t xxxxx'” error and how to solve it.

Background

Researching this error actually brought to my attention two undocumented switches of the scp command: “-f” and “-t”.

These flags are automatically added to the command when it’s run depending on whether you’re copying to (-t) or from (-f):

Command                                                                                                              Actual command run

scp ./myfile.txt   name@server:/myfile.txt               scp -t /myfile.txt

scp  name@server:/myfile.txt  ./myfile.txt               scp -f /myfile.txt

This can be seen when running scp with the -v verbose/debug flag:

linux:/ # scp -v myfile.txt name@server:/home/name/myfile.txt
Executing: program /usr/bin/ssh host server, user admin, command scp -v -t /home/admin/myfile.txt
<snip>
CLINFR0329  Invalid command:'scp -v -t /home/name/myfile.txt'.
linux:/ #

Solution

Besides being of interest regarding the -f and -t flags, the only thing that we can really glean from this is that the remote system doesn’t recognise the command, the flags or both.

In the case of Checkpoint Gaia it is down to the fact that the default shell is “clish” and not bash which is required for scp.

To mitigate this we can set the default login shell to be bash, either temporarily or permanently, using a quick command from clish:

gw-8f991f> set user admin shell /bin/bash
gw-8f991f> save config
gw-8f991f>

To make this change only temporarily, do not use the “save config” command.

To revert the change:

gw-8f991f> set user admin shell /etc/cli.sh
gw-8f991f> save config

Hope you save yourself some time!

Teamviewer – package architecture (i386) does not match system (amd64)

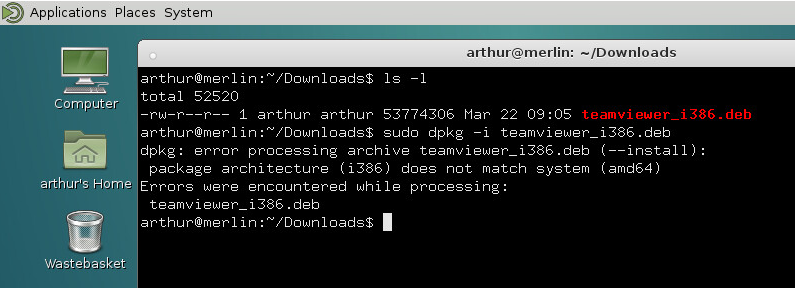
The teamviewer installation error “package architecture (i386) does not match system (amd64)” is observed on when attempting an install on 64 bit versions of either Debian or Ubuntu. This article details how to solve this quickly and easily.

This comes from using a “multiarch” or “multiple-architecture” installer as opposed to one which has been expressly compiled for wither i386 or amd64 architectures; from the Debian site:

“Multiarch is the term being used to refer to the capability of a system to install and run applications of multiple different binary targets on the same system. For example running a i386-linux-gnu application on an amd64-linux-gnu system.”

Symptoms:

The error is observed once an install is attempted with:

sudo dpkg -i teamviewer_linux.deb

install error

Solution

Download

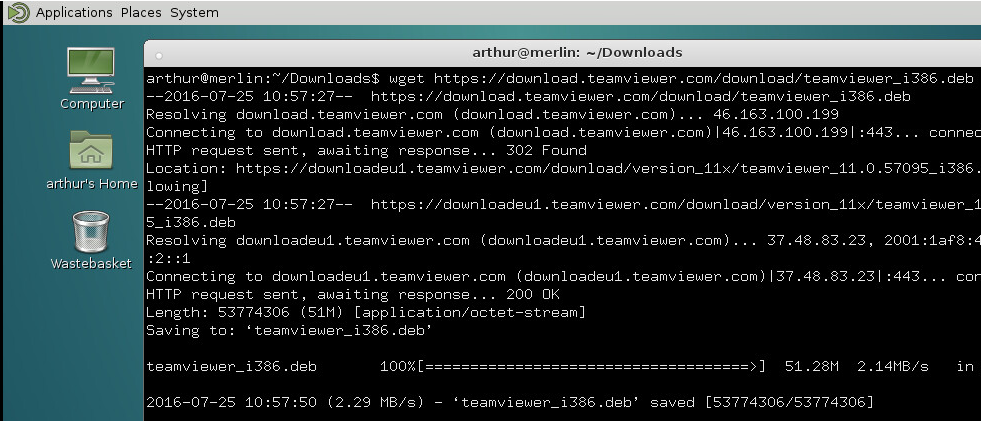
The latest teamviewer package for linux can always be downloaded using the following:

wget http://www.teamviewer.com/download/teamviewer_linux.deb

Download linux teamviewer installer

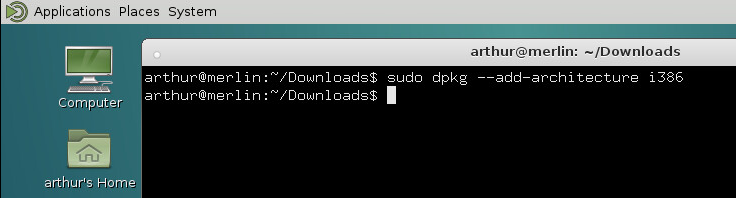
Add i386 Architecture to dpkg

The following command will add the i386 directives to dpkg:

sudo dpkg --add-architecture i386

Add i386 architecture to dpkg

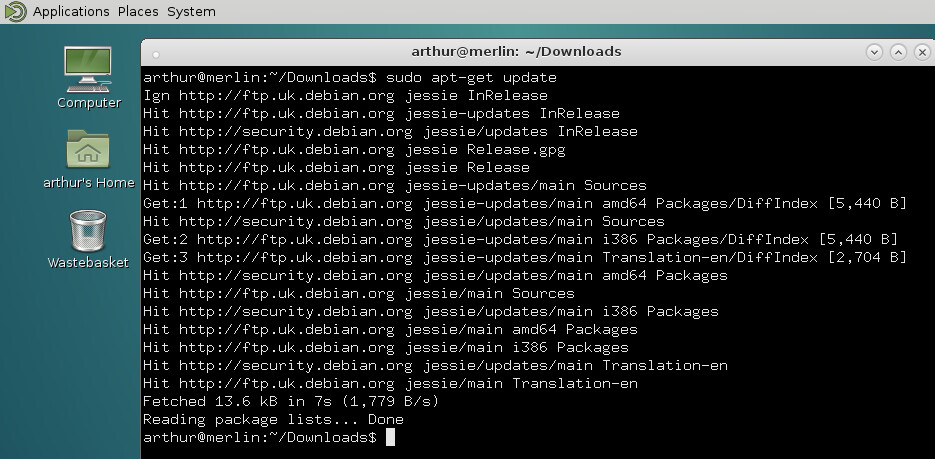
Update Sources

We now need to update our sources so that the system knows about the new i386 packages:

sudo apt-get update

Update Package Sources

Install Teamviewer

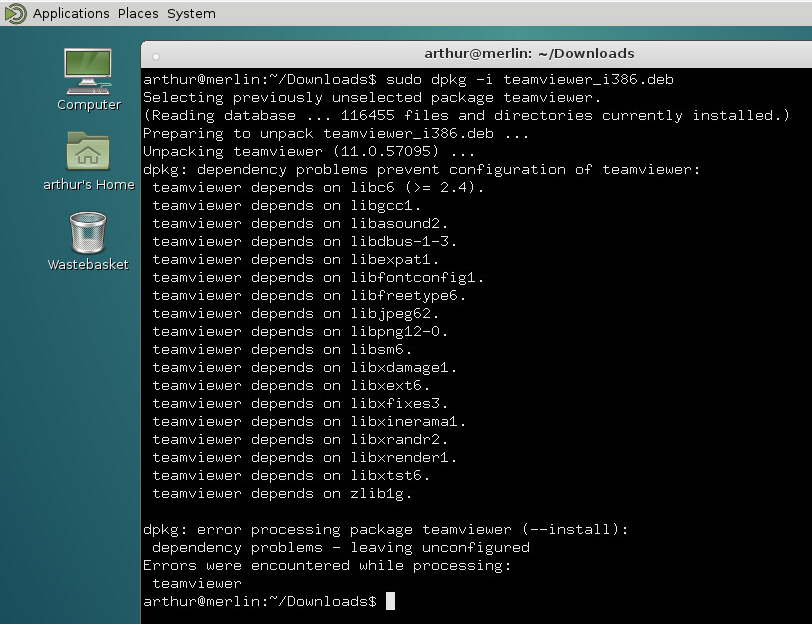
We can now go ahead and try to install Teamviewer again. This will partially work but some of its dependencies will be unfulfilled, shown with the errors “dependency problems – leaving unconfigured” – we will address this in the next step.

sudo dpkg -i teamviewer_linux.deb

Run Teamviewer installer again

Fix Unfulfilled Dependencies

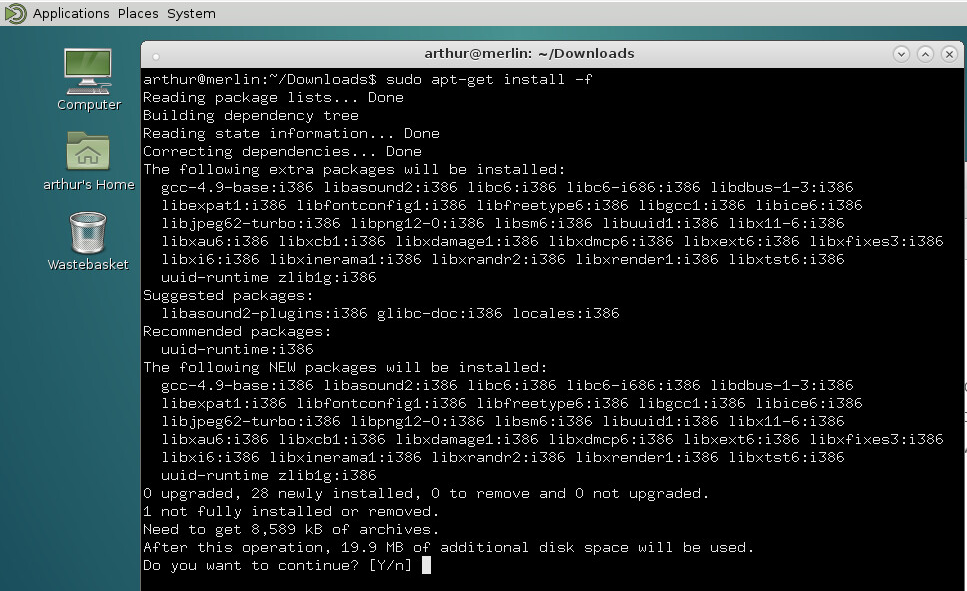
Running the apt-get with the “-f” or “–fix-broken” switch will resolve any missing dependencies for installed programs:

sudo apt-get install -f

Resolve Unfulfilled Dependencies

Start Teamviewer!

Open Teamviewer From the Menu:

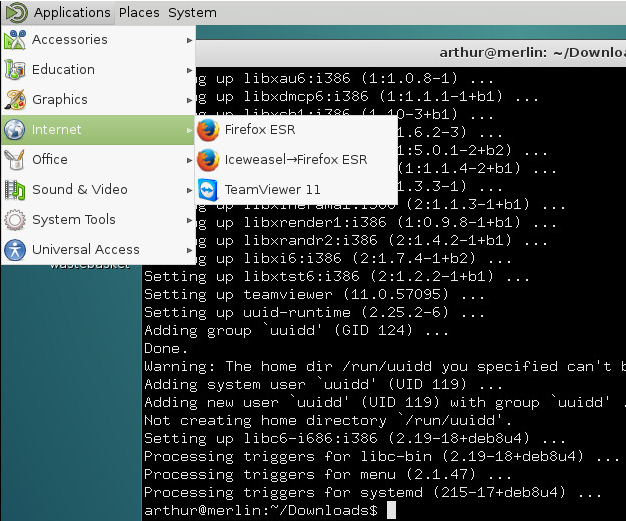
From the applications menu, navigate to Internet and Teamviewer should be available for selection:

Open Teamviewer
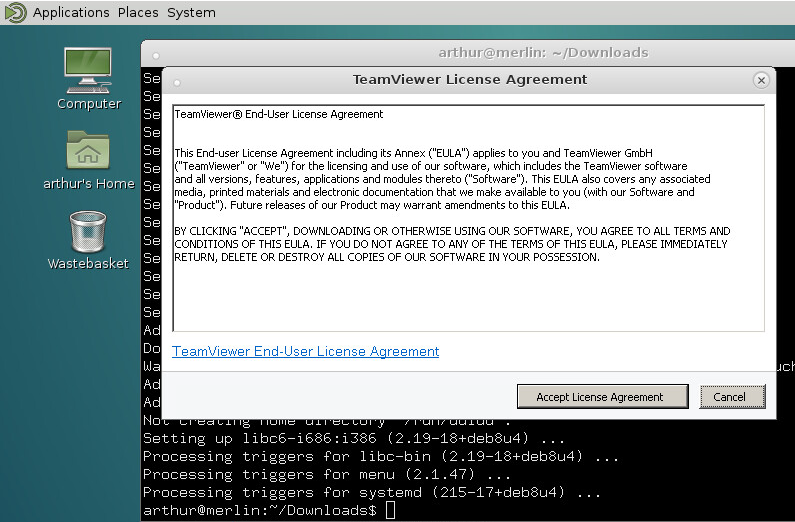
Accept the EULA ..
Accept EULA
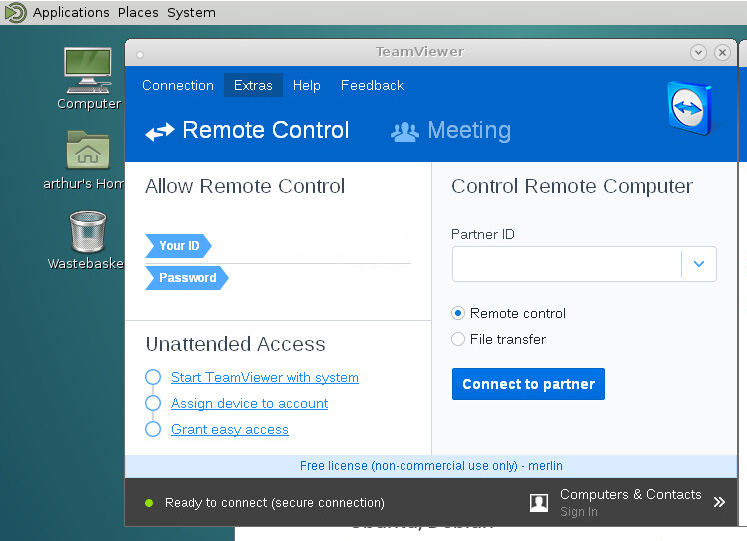
And Away We Go!

9 away we go